How to Photograph Your Artwork (Without a Fancy Camera)
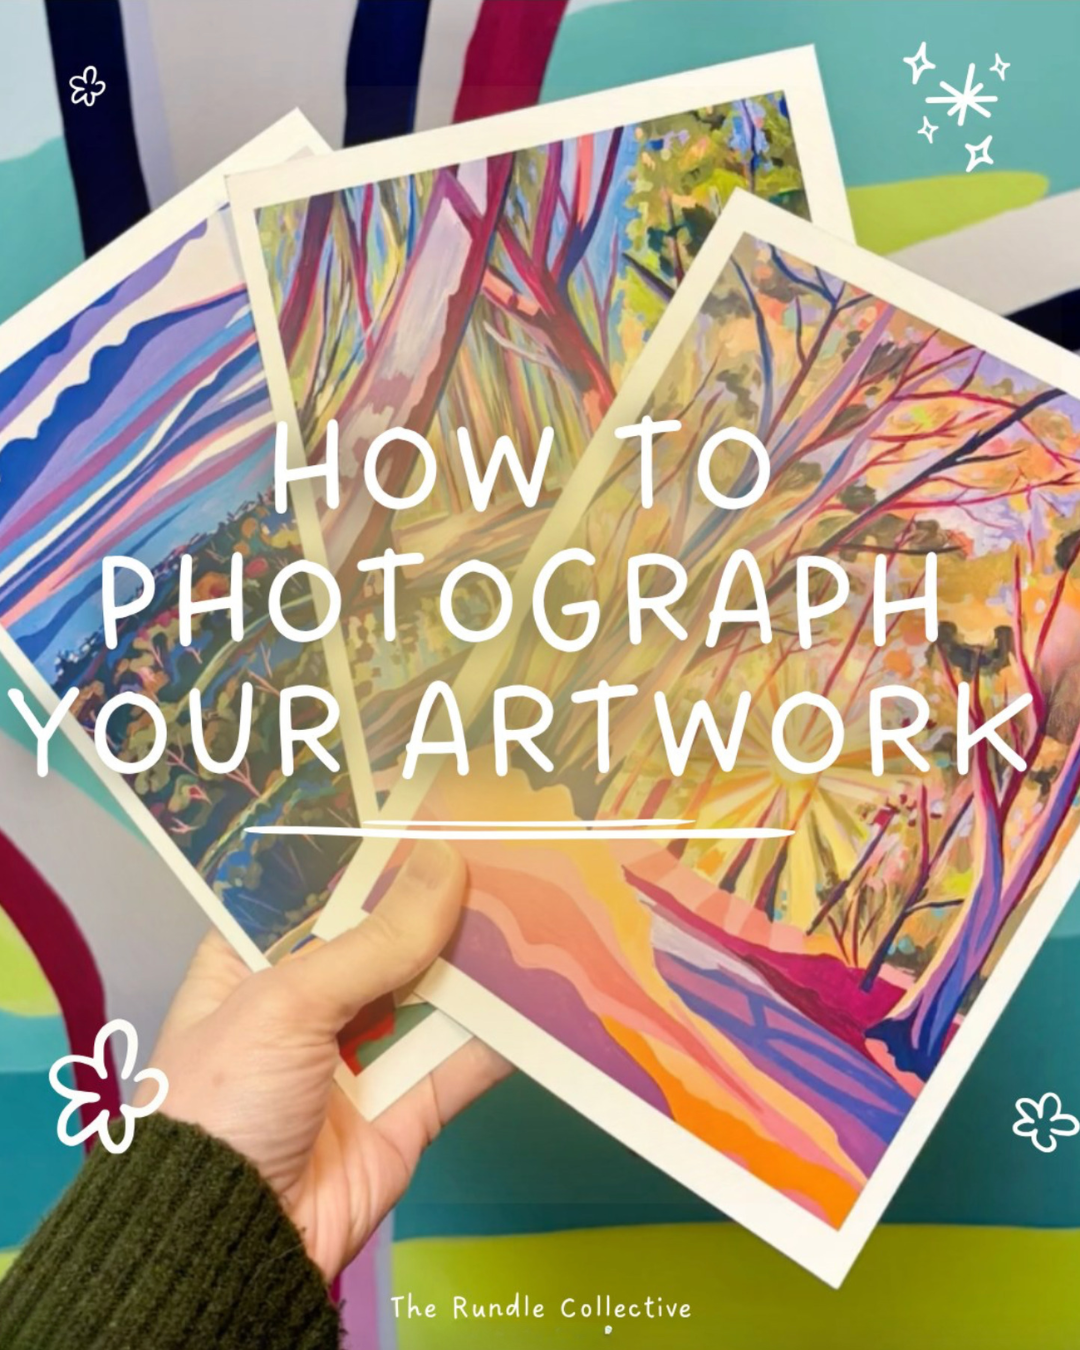
Good photos of your work matter.
You’ll use them for your website, Instagram, grant applications, exhibition proposals, portfolios, press, online stores and probably about fifty other things.
The good news?
You don't necessarily need an expensive camera or professional studio setup.
A recent phone, decent natural light and a little bit of patience can get you a long way.
Natural light is your best friend
Whenever possible, photograph your work using soft, indirect natural light.
Set up near a large window or photograph outside on an overcast day.
Avoid harsh direct sunlight. It can create strong shadows, reflections and colours that don't accurately represent your work.
Also avoid mixing different light sources.
If daylight is coming through the window, turn off the yellow overhead lights.
Photograph your work straight on
For flat artwork, position your camera so it is parallel with the artwork.
Not pointing slightly up.
Not slightly sideways.
Straight.
If the artwork looks narrower at one end of the photograph, your camera isn't parallel.
Use the grid on your phone camera to help line everything up.
And please don't use 0.5x.
The wide-angle lens can distort the shape of your artwork.
Clean your camera lens
Seriously.
Before doing anything else, wipe your phone camera lens.
It takes approximately three seconds and can be the difference between a sharp photograph and something that looks like it was taken through a light fog.
Don't zoom in
Move yourself instead.
Digital zoom can reduce the quality of your image.
Stand further back, photograph the whole artwork and crop the image afterwards.
Colour accuracy matters
Your photograph should look like the actual artwork.
Try not to heavily edit colours because they look nicer on Instagram.
Adjust things like exposure, brightness, white balance and contrast where needed so the photograph accurately represents the original.
This becomes particularly important if someone is buying your work online.
Take detail shots
Don't stop at one straight-on photograph.
Capture the details.
Texture.
Brushstrokes.
Edges.
Materials.
Signatures.
Interesting sections of the work.
For three-dimensional pieces, photograph multiple angles.
These images are incredibly useful for your website, socials and marketing.
Photograph the work in context
Documentation photographs and lifestyle photographs serve different purposes.
You should have a clean, accurate image of the artwork by itself.
But you should also photograph it in context.
Hang it on a wall.
Photograph it in your studio.
Include a person nearby for scale.
Show ceramics being held or used.
These photographs help people imagine the work existing in their own space.
Be careful with reflections
Glass, varnish and glossy surfaces can be tricky.
Try moving your light source or changing your position slightly rather than photographing directly opposite a bright window.
Sometimes moving the artwork just a few centimetres makes an enormous difference.
Take high-resolution images
Keep your original high-resolution files.
Don't rely on images downloaded back from Instagram.
You may eventually need high-resolution photographs for printing, publications, media, grants or exhibition catalogues.
Create a folder for every completed artwork and keep the originals somewhere safe.
Name your files properly
Future you will be grateful.
Instead of:
IMG_847293.jpg
Try:
ArtistName_ArtworkTitle_2026.jpg
You might also include dimensions or photographer details depending on what you're using the image for.
Sometimes it is worth hiring a professional
You can absolutely document your everyday work yourself.
But professional photography can be a worthwhile investment for major bodies of work, exhibitions, award entries, important grant applications or pieces with difficult colours and surfaces.
You don't necessarily need professional photography for everything you make.
Know when your phone is enough and when the work deserves something more.
Create a documentation routine
When you finish an artwork, try to get into the habit of documenting it before it leaves your studio.
Take:
One clean full image
Several detail photographs
A side or dimensional view where relevant
A photograph showing scale
A few images for social media
A photograph of your signature
Then save everything properly.
Because there's nothing worse than selling an artwork and realising the only photograph you have of it is sitting in the background of an Instagram Story from six months ago.
The Creative Toolkit is a growing collection of practical resources from The Rundle Collective, created to help emerging creatives navigate the business, opportunities and realities of building a creative practice.